Create Your Account
To get started, head to Sign Up on api.corbits.dev. Create an account using your email and create a password. Already have an account? Skip to Verify Your Proxy.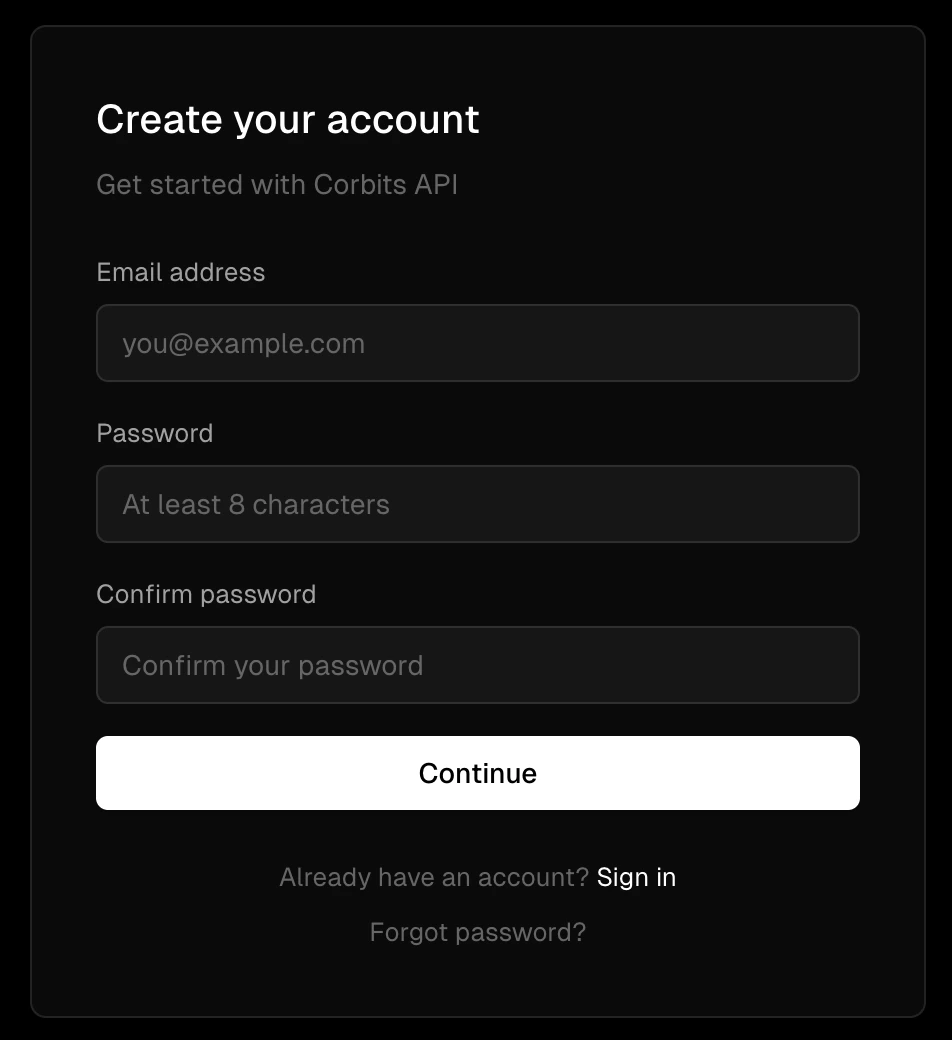
Set Up Your Dashboard
Once you’ve signed up, you’ll be taken to your dashboard where you’ll be prompted to complete three steps:1. Create a Wallet
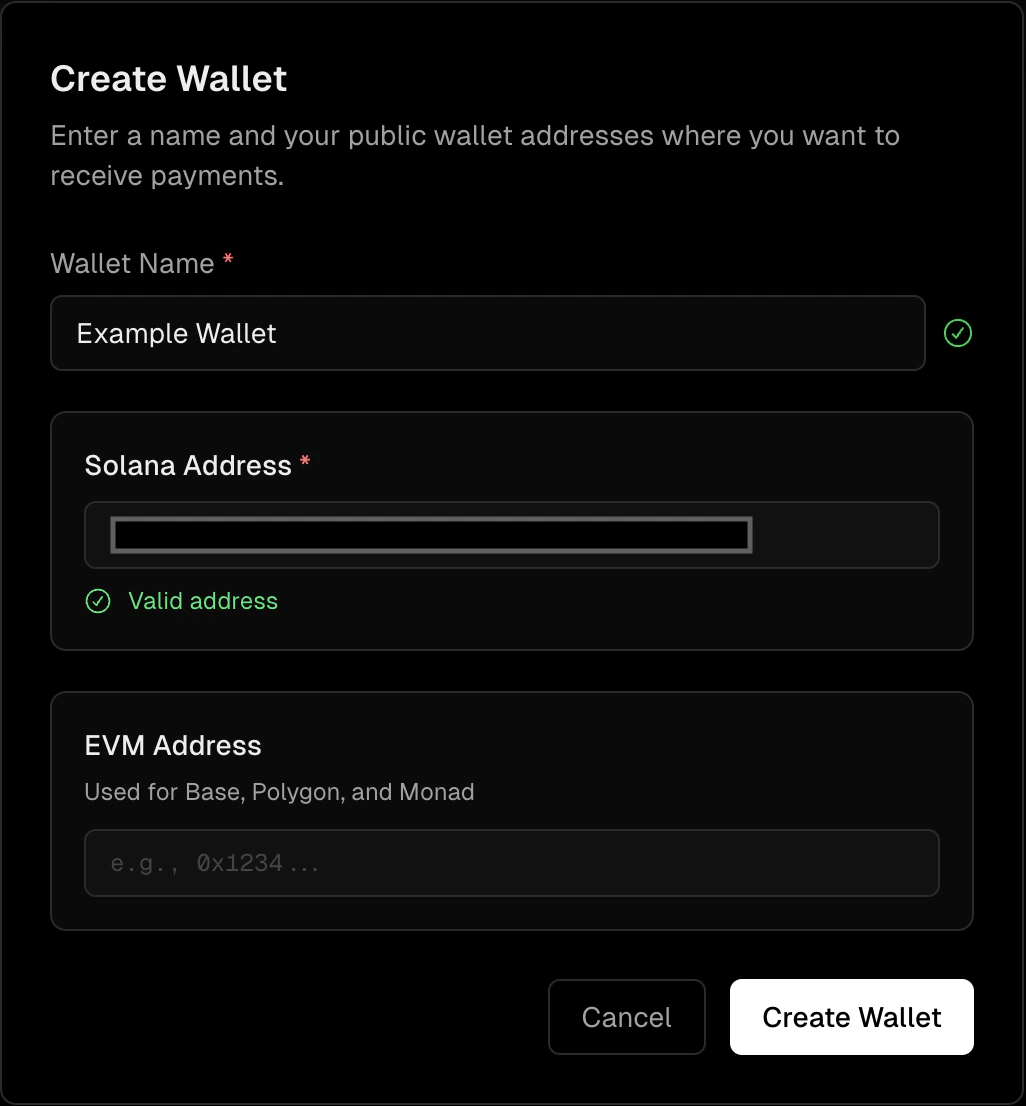
Set up your wallet to start sending and receiving payments through the Corbits facilitator.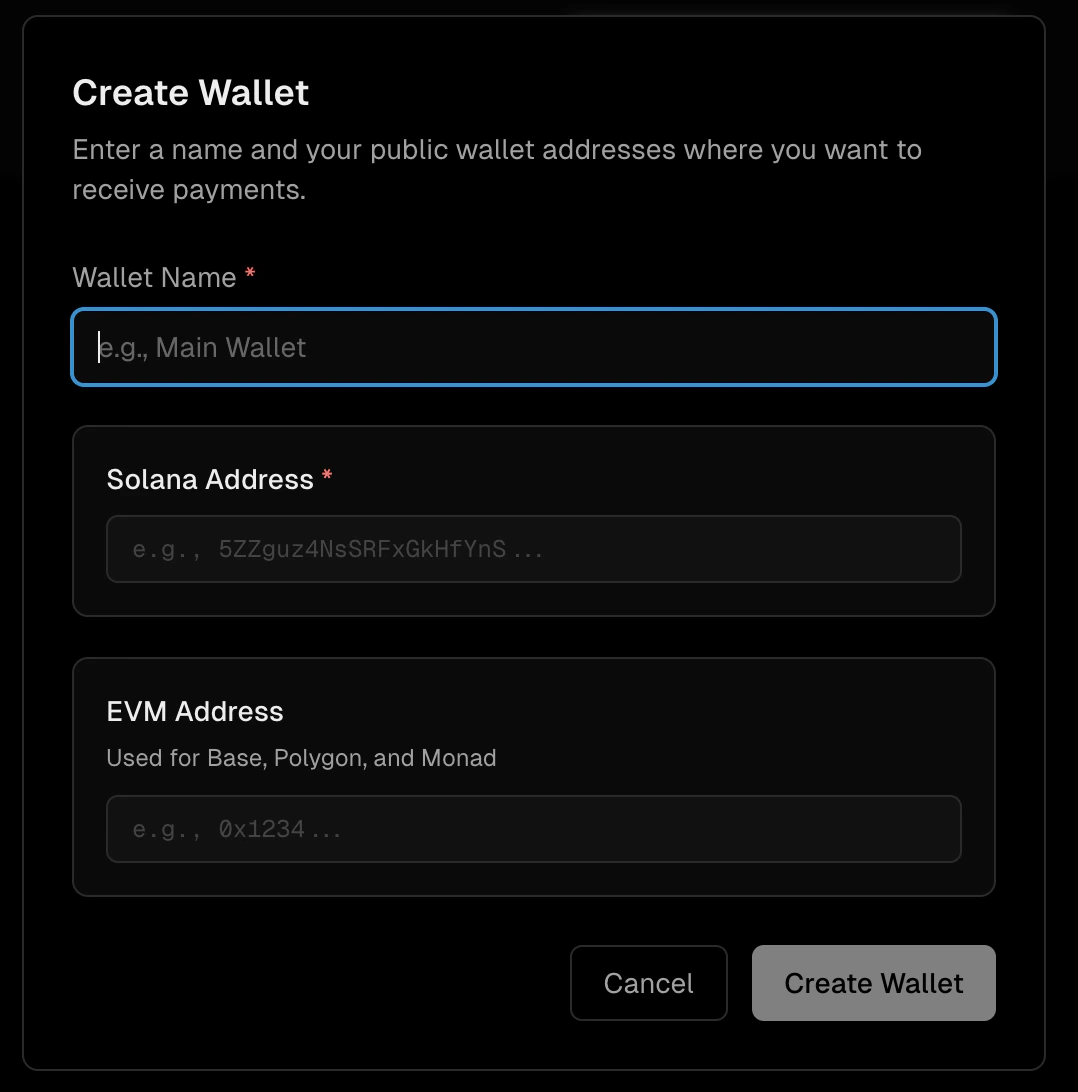
- Enter a name for the wallet
- Enter your Solana Public address (required)
- Enter your EVM Public address (optional)
2. Fund Your Wallet
If your Solana wallet does not have at least 0.10 SOL and $0.01 USDC you will need to fund your wallet. Add funds to your wallet so you’re ready to transact. Additional wallets can be added later. SOL covers on-chain transaction fees (gas); USDC is the required collateral for payment processing. See Wallets for more details.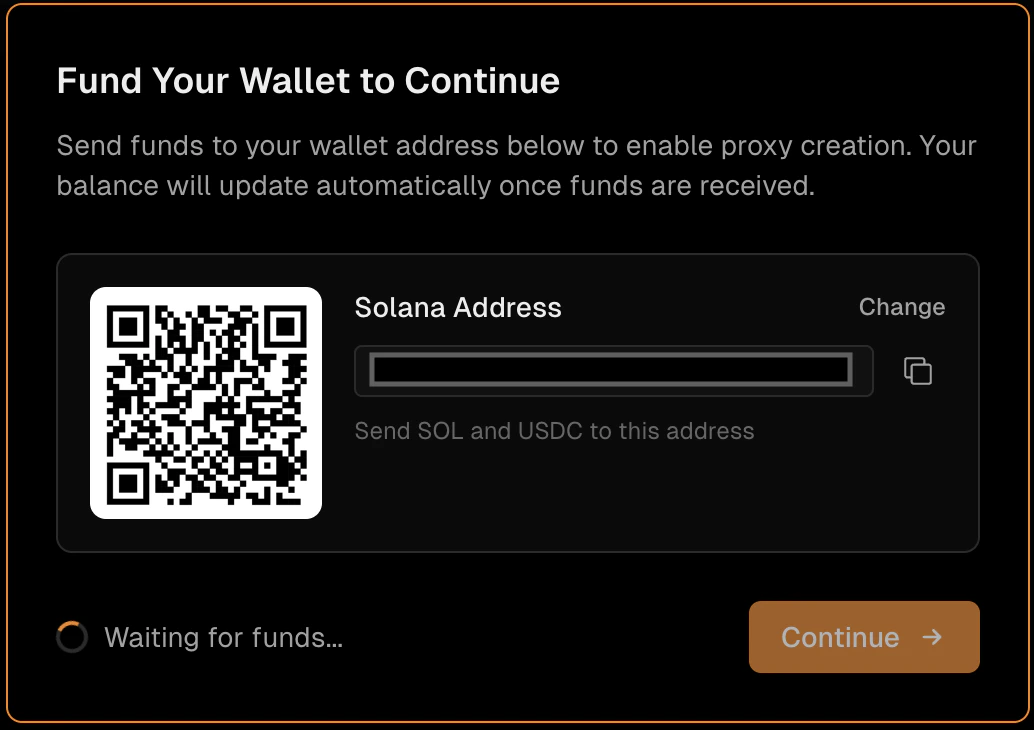
3. Create a Proxy
Configure your proxy endpoint to start accepting x402 payments on your API. The URL scheme for your new proxy will be{proxyname}.{orgname}.api.corbits.dev

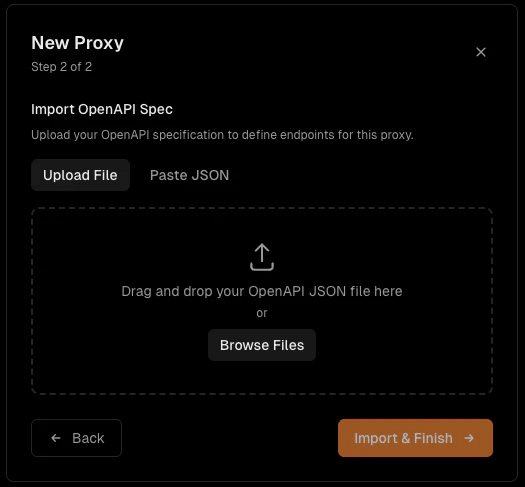
Register vs. Activate: Register means your proxy exists in the system but isn’t publicly accessible. Activate means your proxy is live, publicly reachable, and earning revenue.
What’s Next?
Verify Your Proxy
See it in action — confirm your proxy is live with a test request.
Proxies
Configure your proxy further — update settings, routes, and access controls.
Endpoints
Set per-route pricing for each endpoint on your proxy.